Strawberry Jam
Posted on December 17, 2025
0 Comments
Share this recipe
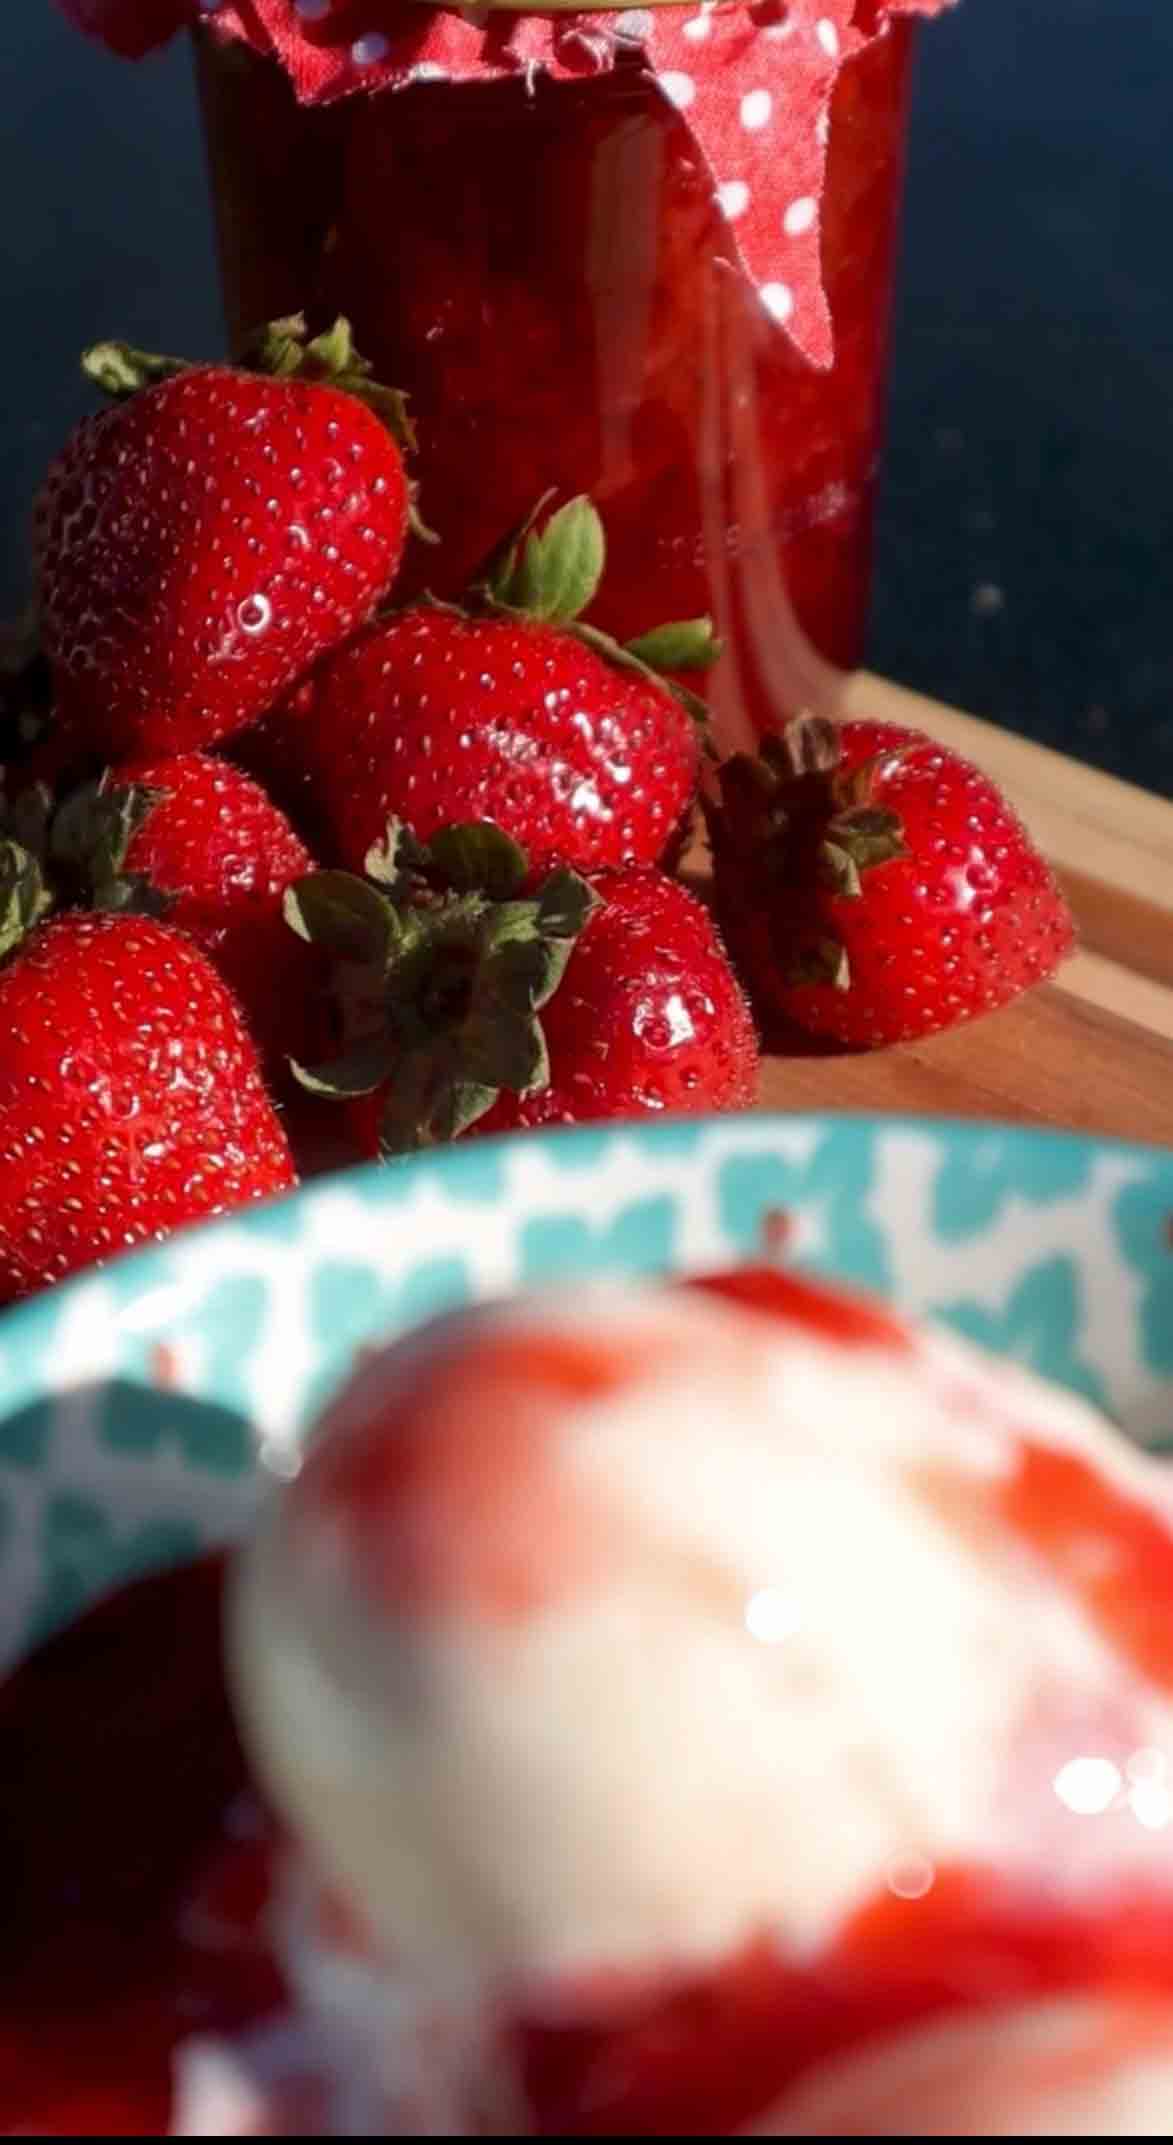
This homemade low-sugar strawberry jam is luscious, naturally sweet, and so much better than anything you'll find at the store. Made with fresh strawberries, just enough sugar to let the fruit shine, and low-sugar pectin to get that perfect spreadable consistency, this jam is incredibly versatile. Slather it on toast, swirl it into yogurt, layer it in cakes, or pair it with my sunflower butter for the ultimate sandwich. The best part? It's surprisingly easy to make, and your kitchen will smell absolutely amazing while it simmers.
This homemade low-sugar strawberry jam is naturally sweet and so much better than store-bought. Made with fresh strawberries, just enough sugar to let the fruit shine, and low-sugar pectin for that perfect spreadable consistency. Slather it on toast, swirl it into yogurt, layer it in cakes, or pair it with sunflower butter for the ultimate sandwich. The best part? It's surprisingly easy to make, and your kitchen will smell amazing while it simmers.
Rate This Recipe!
Preparations
Prep Time:
20 minutes
Cook Time:
15 minutes
Total Time:
35 minutes (plus canning time if preserving)
Cuisine:
American
Course:
Condiment
Calories:
45 kcal (approx. per 2 tablespoon serving)
Servings:
Makes approximately 8-10 cups (64-80 oz)
Author:
Ronica Rupan
Ingredients
Ingredients
- 12 cups fresh strawberries, hulled (approximately 4 lbs)
- 4 cups granulated sugar
- 1 package (1.75 oz) low-sugar pectin
- optional 1-2 tablespoons fresh lemon juice, for brightness
Instructions
1. Prep Your Strawberries
Wash your strawberries thoroughly under cold water. Hull and halve them, removing any bruised or overly soft spots. You want about 12 cups of prepped berries. Fresh, ripe strawberries are key here, they have the best flavor and natural sweetness.
2. Combine and Crush
In a large bowl, combine the strawberries, sugar, and low-sugar pectin. Use a potato masher to gently crush the berries, releasing their natural juices. You don't need to mash them into a complete puree, leave some texture! The sugar and pectin will start to pull out even more juice as the berries sit.
3. Bring to a Boil
Transfer the berry mixture to a large, heavy-bottomed pot. A wide pot works best because it allows for better evaporation and helps the jam thicken faster. Bring the mixture to a full rolling boil over medium-high heat, stirring occasionally to prevent sticking.
4. Simmer and Skim
Once boiling, reduce the heat slightly to maintain a steady rolling boil for 10 minutes. Stir frequently to prevent burning on the bottom. You'll notice foam forming on the surface, skim this off with a spoon for a clearer, more beautiful jam. This step helps concentrate the flavors and activate the pectin.
5. Add Remaining Sugar
After 10 minutes, incorporate any remaining sugar if you're adjusting sweetness. Maintain the rolling boil for an additional 2 minutes, stirring constantly. The jam should start to thicken noticeably.
6. Test for Doneness
To check if your jam is ready, place a small plate in the freezer for a minute, then drop a spoonful of jam onto the cold plate. Run your finger through it, if it wrinkles and holds its shape, it's done! If it's still runny, boil for another minute or two and test again.
7. Can or Refrigerate
Turn off the heat. At this point, you have two options:
For Canning (Highly Recommended for This Quantity):
Ladle the hot jam into sterilized mason jars, leaving ¼-inch headspace. Wipe the rims clean, place lids and rings on, and process in a boiling water bath for 10 minutes. Remove and let cool completely. Properly canned jam can last up to 1 year in a cool, dark place.
For Refrigerating:
Let the jam cool slightly, then transfer to clean jars or containers. Once completely cooled, refrigerate. Refrigerated jam will keep for up to 3 weeks.
8. Enjoy!
Once your jam has set (give it about 24 hours for the best texture), spread it on everything! Toast, biscuits, yogurt parfaits, PB&J sandwiches, you name it.
More Recipes


Connect with Us on Social Media:

Hey! It’s Ronica!
This is where I love to share my passion for cooking, baking, and flavor. When I’m not creating delicious recipes, you’ll find me spending time with my family, working on my spice blends at Flora & Mana, or enjoying a homemade baked goods. Join me on this culinary journey to taste, healthy meals and fun kitchen hacks!
Read MoreWe'd Love to Hear from you!
Drop a Comment Below!
Leave a Reply
Get recipes first!
Subscribe now to get exclusive recipes, kitchen tips, and cooking inspiration delivered straight to your inbox.
No comments yet