HIGH-PROTEIN COTTAGE CHEESE SANDWICH BREAD
Posted on June 29, 2026
0 Comments
Share this recipe
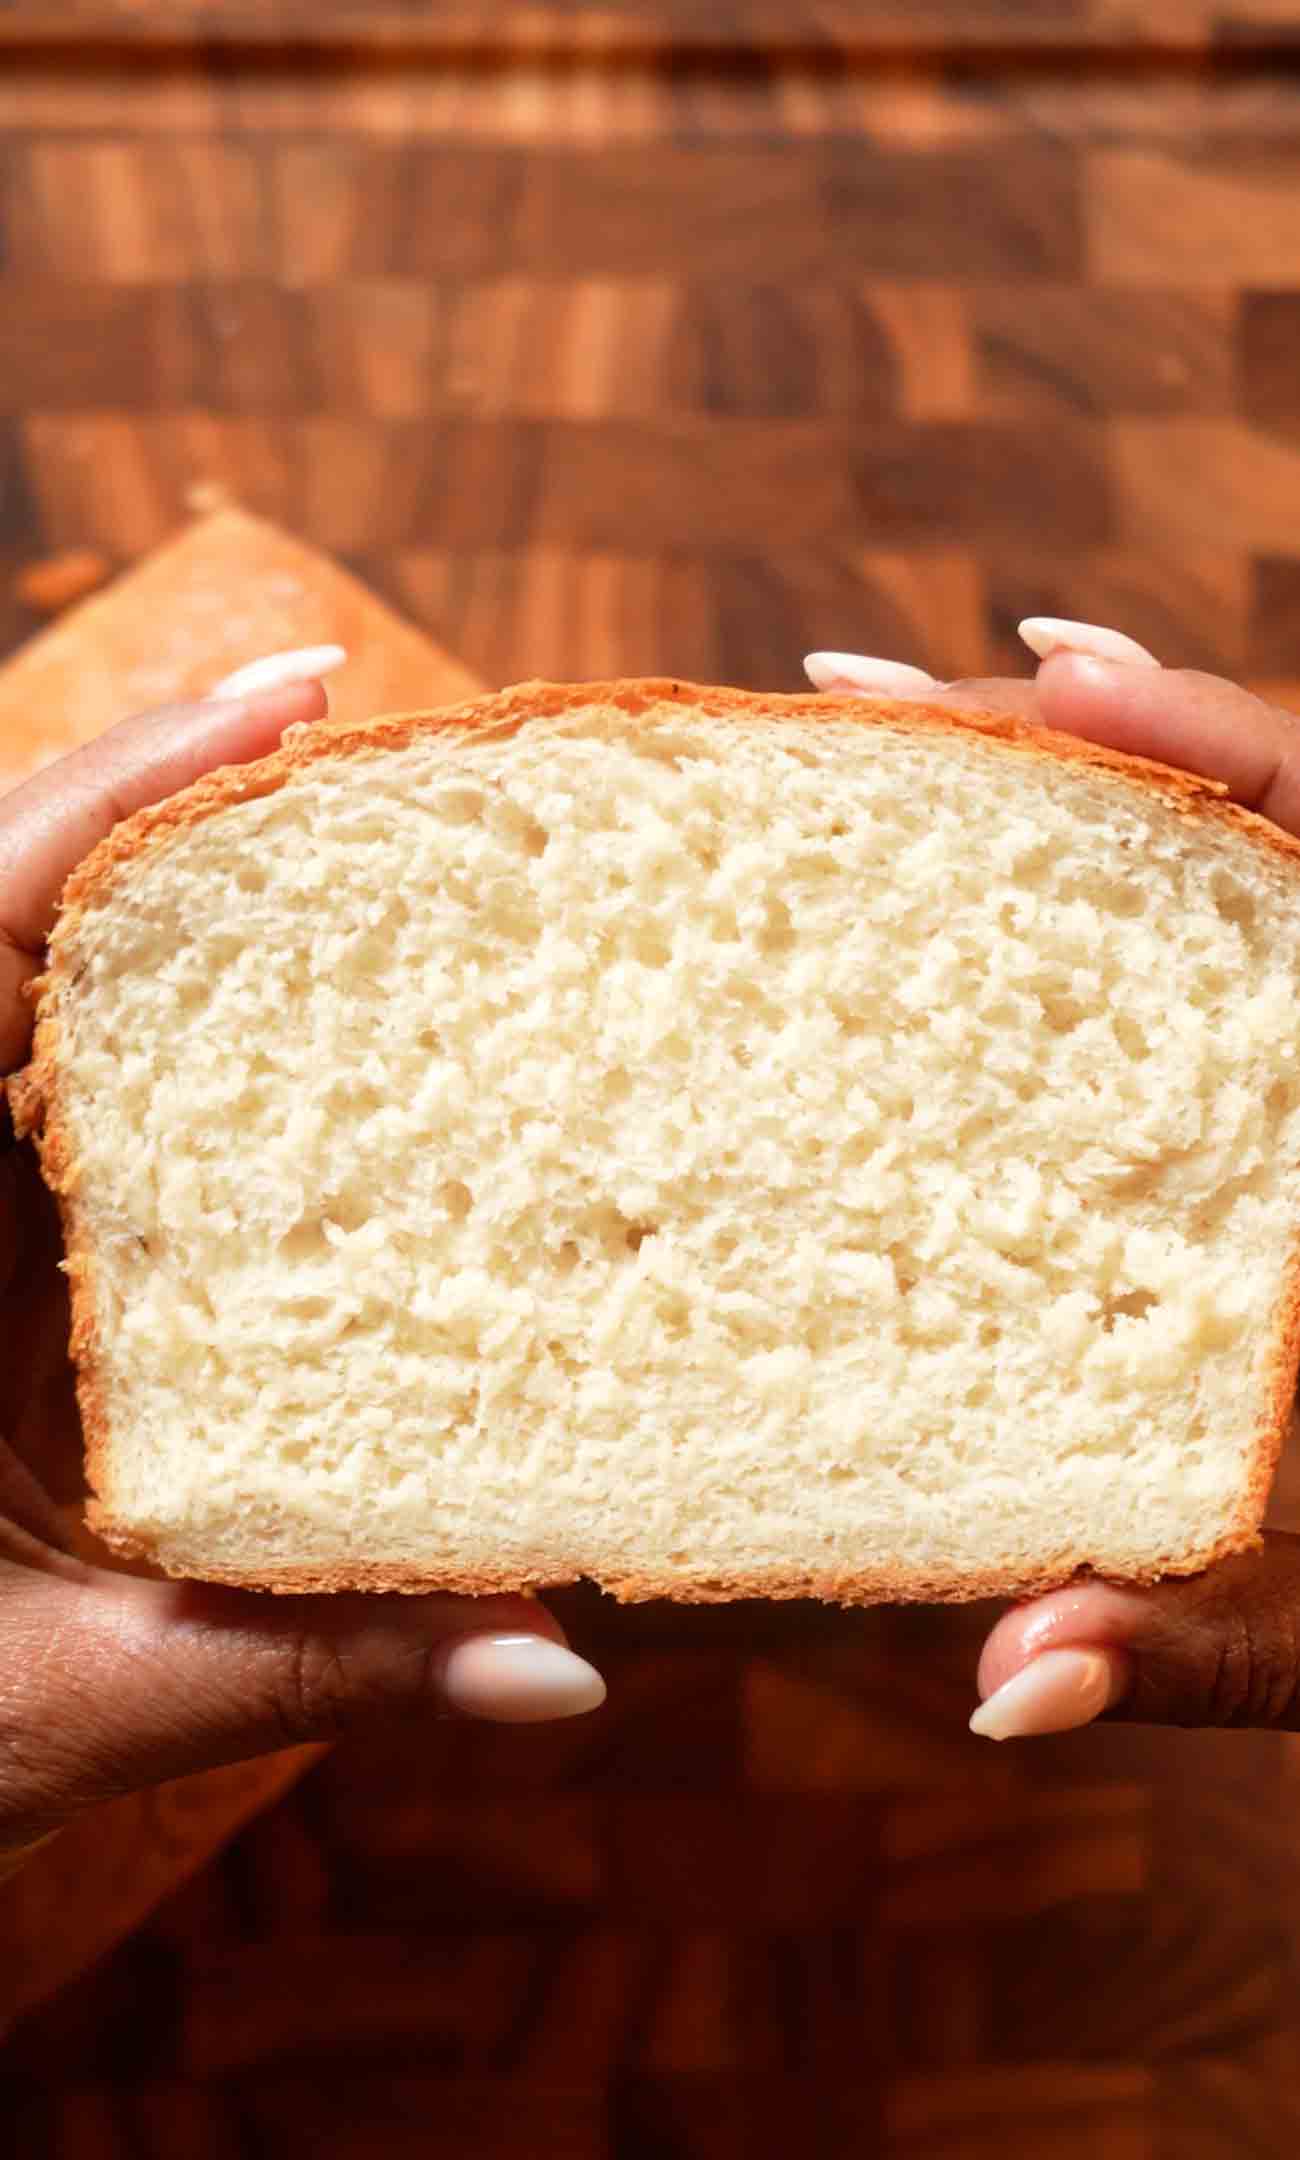
This high-protein cottage cheese sandwich bread is a game-changer for anyone looking to boost the protein content of their everyday bread! Knudsen cottage cheese gets blended until completely smooth and creamy, transforming it into a silky base that adds incredible moisture, tenderness, and around 15 grams of protein per slice. The cottage cheese creates a more tender crumb than regular bread while the protein keeps you satisfied longer, making this perfect for meal prep sandwiches, toast for breakfast, or anytime you want bread that's actually nourishing. The dough is straightforward and beginner-friendly: you activate the yeast in warm water with a touch of sugar, blend the cottage cheese and egg until completely smooth (this blending step is crucial for eliminating any graininess!), then combine everything with bread flour. A gentle knead for 8-10 minutes develops just enough gluten to create structure, and the dough gets a long first rise until doubled. After shaping into a loaf and a second rise, you brush it with egg wash for that beautiful golden crust, then bake until deeply golden with a hollow sound when tapped. The result is a moist, tender, protein-packed sandwich bread that slices beautifully, toasts perfectly, and tastes incredible. It's perfect for sandwiches, toast, or just eating plain. Every slice contains the goodness of cottage cheese—creamy texture, protein for satiety, and nutrients your body actually needs. This is bread that's both delicious and genuinely good for you!
This high-protein cottage cheese sandwich bread is moist, tender, and packed with protein! Knudsen cottage cheese blended until smooth creates an incredibly tender crumb and around 15g of protein per slice. Easy to make, beautiful to bake, and absolutely delicious!
Rate This Recipe!
Preparations
Prep Time:
10 minutes
Cook Time:
35 minutes (plus rising time)
Total Time:
1 hour 45 minutes
Cuisine:
American
Course:
Bread, Breakfast
Calories:
180 kcal (approx. per slice)
Servings:
8 slices
Author:
Ronica Rupan
Ingredients
Ingredients
- 2¼ teaspoons active dry yeast (1 standard packet)
- 1 tablespoon granulated sugar
- ½ cup warm water (110°F)
- 1 cup Knudsen 2% cottage cheese, room temperature
- 1 large egg
- 2 tablespoons salted butter, melted
- ½ teaspoon kosher salt
- 3 cups bread flour, plus more for dusting
Instructions
- Activate the Yeast
In a small bowl, stir together the active dry yeast and granulated sugar. Pour in the warm water (110°F—warm to touch, not hot). Stir gently and let sit for 5-10 minutes. The mixture should become foamy and bubbly as the yeast activates. If no bubbles form after 10 minutes, your yeast is dead and you need to start over with fresh yeast. This step is crucial for bread success! - Blend the Cottage Cheese and Egg
Add 1 cup of room-temperature Knudsen cottage cheese and 1 large egg to a blender. Blend on high speed for 45-60 seconds until the mixture is completely smooth and creamy with absolutely zero graininess. The mixture should look like silky crème fraîche. This step is essential for eliminating any grainy texture in the final bread! - Mix the Wet Ingredients
Pour the blended cottage cheese and egg mixture into a large mixing bowl. Add the 2 tablespoons of melted salted butter and ½ teaspoon of kosher salt. Whisk together until everything is well combined and smooth. The mixture should look creamy and pale. - Build the Dough
Pour the activated yeast mixture into the wet ingredients bowl. Stir to combine. Gradually add the 3 cups of bread flour, stirring with a wooden spoon or sturdy spatula. Mix until a soft, slightly sticky dough forms. It should pull away from the sides of the bowl but still feel tacky to the touch. - Knead the Dough
Turn the dough out onto a lightly floured surface. Knead by hand for 8-10 minutes, using your palms to push the dough away from you, then folding it back over itself. Add flour only if the dough is too sticky to handle. After kneading, the dough should be smooth and elastic. It should still be slightly tacky but should pull away cleanly from your hands when you stop kneading. - First Rise
Lightly grease a large mixing bowl with oil or butter. Place the kneaded dough in the greased bowl and turn it to coat all sides. Cover with a clean kitchen towel or plastic wrap. Place in a warm, draft-free location (like an unheated oven or turned-off microwave) and let rise for 60-90 minutes until the dough has doubled in size. The dough should look puffy and should spring back slowly when you poke it with a finger. - Shape and Second Rise
Punch down the dough gently to release excess air. Turn it out onto a lightly floured surface. Shape the dough into a log that's approximately the length of a 9x5-inch loaf pan. Roll it tightly as you shape it for better rise. Place the shaped dough seam-side down in a greased 9x5-inch loaf pan. Cover with a clean towel and let rise for 30-45 minutes in a warm place until puffy and the dough rises slightly above the rim of the pan. - Prepare for Baking
Preheat your oven to 375°F (190°C) about 10 minutes before the second rise ends. Lightly beat the remaining egg in a small bowl. Once the dough has risen, brush the egg wash generously over the top of the loaf using a pastry brush. This creates a beautiful, shiny golden crust! - Bake
Place the loaf pan in the preheated 375°F oven and bake for 30-35 minutes until deeply golden brown on top. The loaf should sound hollow when you tap it on the bottom (carefully remove it from the pan to check), and an instant-read thermometer inserted into the center should read 190-200°F. This indicates the bread is fully baked inside. - Cool
Remove the loaf from the oven and let it cool in the pan for 10 minutes. This allows it to firm up slightly so it releases easily from the pan. Turn the loaf out onto a wire cooling rack and let it cool completely before slicing, at least 30 minutes. Slicing warm bread causes it to tear and compress, so patience here is rewarded with beautiful, even slices! - Enjoy
Once completely cooled, slice and use for sandwiches, toast, or eat plain. Store in a bread box or airtight container at room temperature for up to 3 days. Freeze slices for up to 1 month!
More Recipes


Connect with Us on Social Media:

Hey! It’s Ronica!
This is where I love to share my passion for cooking, baking, and flavor. When I’m not creating delicious recipes, you’ll find me spending time with my family, working on my spice blends at Flora & Mana, or enjoying a homemade baked goods. Join me on this culinary journey to taste, healthy meals and fun kitchen hacks!
Read MoreWe'd Love to Hear from you!
Drop a Comment Below!
Leave a Reply
Get recipes first!
Subscribe now to get exclusive recipes, kitchen tips, and cooking inspiration delivered straight to your inbox.
No comments yet