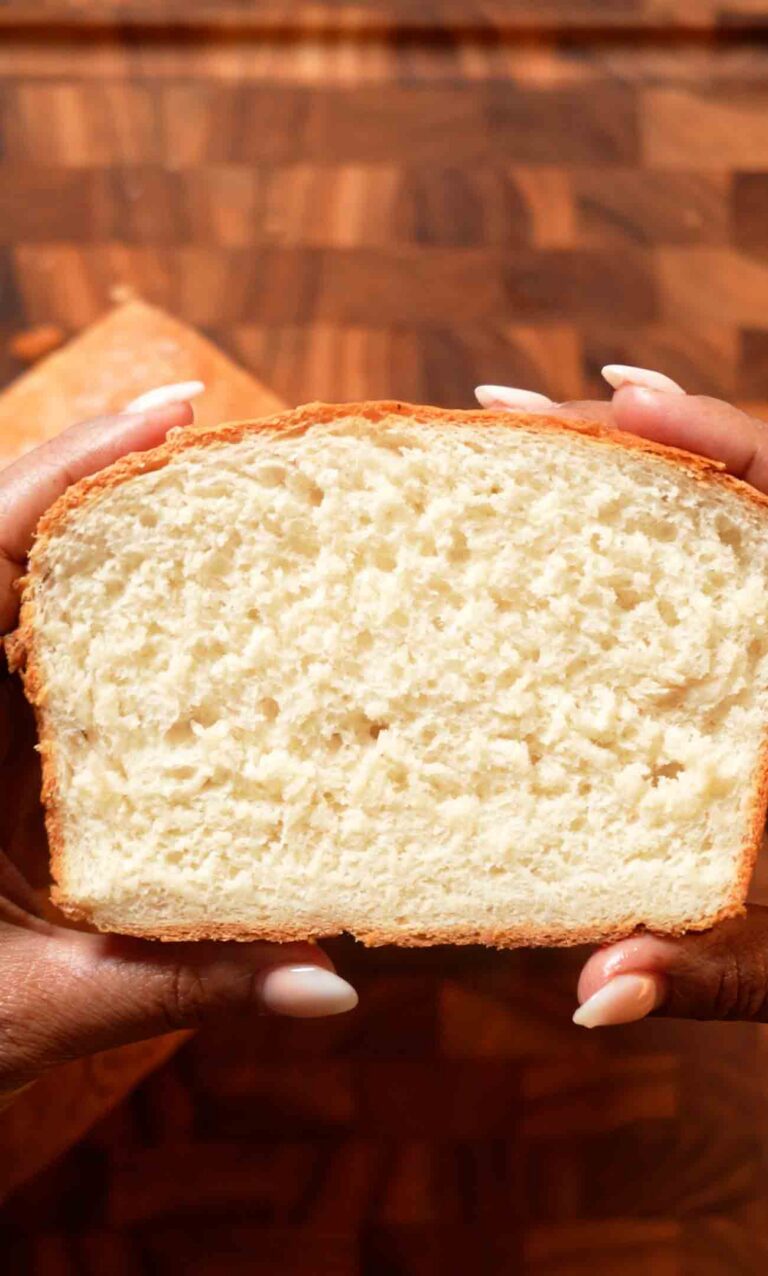
Rosemary Garlic Confit Focaccia
Posted on February 22, 2026
2 Comments
Share this recipe
This rosemary garlic confit focaccia is the most incredible homemade bread you'll ever make, and it's so much easier than you think! Fluffy, pillowy focaccia with crispy golden edges, a tender crumb full of air pockets, and topped with the most luxurious rosemary garlic confit that infuses every bite with sweet, mellow roasted garlic and fragrant rosemary. The garlic confit is where you start, and it's pure magic. Whole peeled garlic cloves and fresh rosemary sprigs get covered completely in olive oil, sprinkled with salt, and baked at 400°F for just 20 minutes until the garlic is incredibly soft, sweet, and spreadable but not browned. This slow cooking in oil transforms harsh raw garlic into something mellow, buttery, and almost sweet. You'll want to make extra because it's amazing spread on everything! The focaccia dough is a simple no-knead recipe that uses just bread flour, warm water, instant yeast, a touch of honey for feeding the yeast, olive oil, and salt. Instead of traditional kneading, you do a series of gentle stretch and folds that develop the gluten without overworking the dough, giving you that signature open, airy crumb. After mixing, the dough rests for 15 minutes, gets folded, rests again, gets folded again, then goes through a 1½ hour first proof where it doubles in size and develops flavor. It gets transferred to an oiled pan, gently stretched, folded, flipped, then proofed again for another 1½ hours. Just before baking, you drizzle the top generously with that gorgeous garlic-infused oil from your confit, dimple the dough all over with your fingers (which creates those iconic focaccia wells that catch oil and toppings), then scatter the soft garlic cloves, fresh rosemary, halved cherry tomatoes, grated Parmesan, and flaky sea salt all over the top. It bakes at 430°F on the lowest oven rack for 18-22 minutes until it's deeply golden brown with crispy edges and a tender, fluffy interior. The smell while it's baking is absolutely intoxicating! After a brief rest, you have this stunning, bakery-quality focaccia that's perfect for serving with dinner, making sandwiches, dipping in soup, or honestly just tearing into warm with extra olive oil!
Frequently Asked Questions
Q: Can I make this without a stand mixer?
A: Absolutely! This is a no-knead focaccia that comes together entirely by hand. You just mix the ingredients in a bowl until there are no dry spots, then do gentle stretch and folds instead of kneading. It's actually easier than traditional bread recipes that require heavy kneading. All you need is a large bowl, your hands, and a little patience for the resting and proofing times. No special equipment necessary!
Q: What if I don't have instant yeast?
A: Instant yeast (also called rapid-rise or bread machine yeast) can be mixed directly into the flour. If you only have active dry yeast, you'll need to bloom it first. Mix the active dry yeast with the warm water and honey, let it sit for 5-10 minutes until foamy, then proceed with the recipe. Use the same amount (1½ teaspoons). The rise times might be slightly longer with active dry yeast, so just watch the dough and let it proof until doubled rather than going strictly by time.
Q: How do I store leftover focaccia and garlic confit?
A: The garlic confit can be stored in an airtight container in the refrigerator for up to 2 weeks, completely covered in the oil. Use the garlic-infused oil for cooking or drizzling on everything! For the focaccia, let it cool completely, then wrap tightly in plastic wrap or store in an airtight container at room temperature for 2-3 days. For longer storage, freeze it wrapped tightly for up to 3 months. Reheat in a 350°F oven for 5-10 minutes to refresh the crust. Don't refrigerate focaccia as it will dry out.
Q: Can I use all-purpose flour instead of bread flour?
A: Bread flour is really recommended for the best texture because it has more protein which creates more gluten, giving you those beautiful air pockets and chewy texture that makes focaccia special. That said, you can use all-purpose flour if that's all you have. The texture will be slightly less chewy and the crumb might be a bit denser, but it will still be delicious. If using all-purpose, you might need to reduce the water by 1-2 tablespoons since it absorbs less liquid than bread flour.
This rosemary garlic confit focaccia is fluffy, golden, and absolutely incredible! Homemade focaccia with crispy edges and a tender, airy crumb, topped with sweet roasted garlic confit, fresh rosemary, tomatoes, Parmesan, and flaky salt. Easier than you think with a simple no-knead dough and stretch-and-fold technique. Pure bread heaven!
Rate This Recipe!
Preparations
Prep Time:
30 minutes (plus 3 hours proofing time)
Cook Time:
22 minutes (plus 20 minutes for garlic confit)
Total Time:
4 hours 12 minutes
Cuisine:
Italian
Course:
Side Dish, Bread
Calories:
240 kcal (approx. per serving)
Servings:
12
Author:
Ronica Rupan
Ingredients
Ingredients
For the Rosemary Garlic Confit:
- 2 whole garlic bulbs, cloves peeled
- 3-4 sprigs fresh rosemary
- Olive oil (enough to completely cover the garlic, about 1-1½ cups)
- ½ teaspoon kosher salt
For the Focaccia:
- 4 cups (500g) bread flour
- 1¾ cups (420g) warm water (about 100-110°F)
- 1½ teaspoons instant rapid yeast
- 1 teaspoon honey (or maple syrup or sugar for vegan)
- 1 tablespoon extra virgin olive oil, plus more for the pan
- 2 teaspoons fine sea salt
For Topping:
- Reserved rosemary garlic confit
- Fresh rosemary sprigs
- Grated Parmesan cheese
- Cherry tomatoes, halved
- Flaky sea salt
Instructions
Make the Rosemary Garlic Confit:
- Roast the Garlic Preheat your oven to 400°F (205°C). Place the peeled garlic cloves and rosemary sprigs in a small oven-safe baking dish. Pour enough olive oil over them to completely cover the garlic. Sprinkle with the kosher salt. Bake for 20 minutes until the garlic is incredibly soft and tender but not browned. You should be able to easily pierce the cloves with a fork. Remove from the oven and let cool completely. Store in an airtight container in the fridge for up to 2 weeks, keeping the garlic completely submerged in the oil.
Make the Focaccia:
- Mix the Dough In a large bowl, combine the warm water, instant yeast, honey, 1 tablespoon of olive oil, and salt. Stir together. Add the bread flour and mix with a wooden spoon or your hands until there are no dry spots and everything is incorporated into a shaggy dough. The dough will be quite wet and sticky, which is perfect! Cover the bowl with a damp kitchen towel or plastic wrap and let rest for 15 minutes.
- First Stretch and Fold After 15 minutes, wet your hands to prevent sticking. Reach under one side of the dough, stretch it up, and fold it over to the opposite side. Rotate the bowl 90 degrees and repeat. Continue rotating and folding all the way around the dough (about 4-6 folds total) until you've formed a rough ball. The dough will tighten up and become smoother. Cover and rest for another 15 minutes.
- Second Stretch and Fold Wet your hands again and repeat the stretch and fold process, working your way around the dough to create a tighter ball. After the final fold, gently flip the dough over so the smooth side is facing up in the bowl. Cover and let proof for 1½ hours in a warm spot until the dough has doubled in size.
- Prepare the Pan Generously oil a 9x13-inch baking pan with olive oil. Line with parchment paper, then spread 2-3 tablespoons of olive oil all over the parchment, making sure to get into the corners. This oil is what creates that crispy bottom and edges!
- Transfer and Shape Gently tip the proofed dough out onto your oiled parchment-lined pan. With oiled hands, gently stretch and pat it into a rough rectangle. Fold the dough in thirds like a letter (bottom third up, top third down), then flip it over so the smooth side is facing up. Don't worry if it doesn't fill the pan yet. Cover the pan with a damp towel or plastic wrap.
- Second Proof Let the dough proof for another 1½ hours until it's puffy, pillowy, and nearly fills the pan. It should jiggle when you shake the pan gently.
- Preheat the Oven About 20 minutes before the second proof is done, preheat your oven to 430°F (220°C) with a rack positioned on the lowest level.
- Dimple and Top Drizzle the top of the dough generously with the garlic-infused oil from your confit. Using your fingers, press dimples all over the surface of the dough, going almost all the way down to the pan but being careful not to pop the large air bubbles. The dimples will fill with oil. Scatter the soft garlic confit cloves, fresh rosemary sprigs, halved cherry tomatoes, and grated Parmesan all over the top. Finish with a generous sprinkle of flaky sea salt.
- Bake Place the pan on the lowest oven rack and bake for 18-22 minutes until the focaccia is deeply golden brown on top and the edges are crispy. The exact time will depend on your oven, so start checking at 18 minutes. The bottom should also be golden when you peek underneath.
- Cool and Serve Remove from the oven and let cool in the pan for 5 minutes, then carefully transfer to a wire cooling rack to cool for at least 15-20 minutes before slicing. This cooling time allows the structure to set and keeps the bottom crispy. Optionally, drizzle with a little more olive oil right after baking for extra richness. Slice and serve warm or at room temperature!
More Recipes


Connect with Us on Social Media:

Hey! It’s Ronica!
This is where I love to share my passion for cooking, baking, and flavor. When I’m not creating delicious recipes, you’ll find me spending time with my family, working on my spice blends at Flora & Mana, or enjoying a homemade baked goods. Join me on this culinary journey to taste, healthy meals and fun kitchen hacks!
Read MoreWe'd Love to Hear from you!
Drop a Comment Below!
Leave a Reply
Get recipes first!
Subscribe now to get exclusive recipes, kitchen tips, and cooking inspiration delivered straight to your inbox.
Comments (2)
Jean k
Could not print this out b v disappointed it looked fabulous!
Ronica Rupan
Hi! The print will come up as a pop up. Do you have pop up’s blocked?